As an Amazon Associate I earn from qualifying purchases.
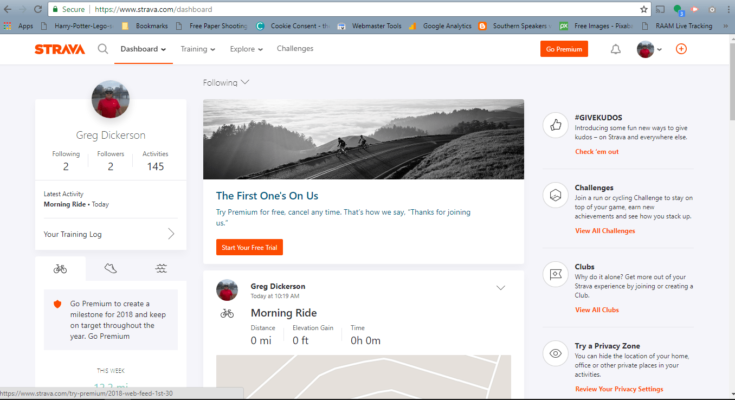
The Strava app, which is widely used by both amateur and professional cyclists, is easy to use and packed with useful features and statistics. GPS and web based, Strava is available for both Android and iPhone. This is definitely my go-to app for cycling stats.
Ease of Use
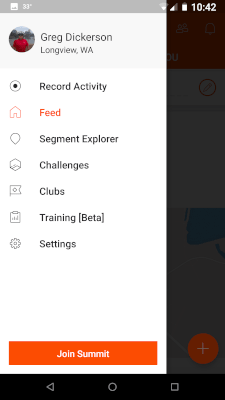
Recording a ride with the Strava app is simple. Just open the app, click the feed menu at the top left of the screen and click record activity.
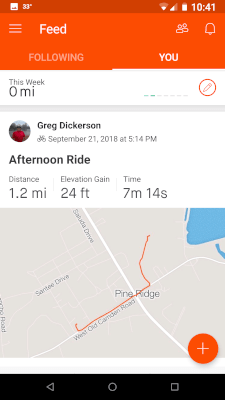
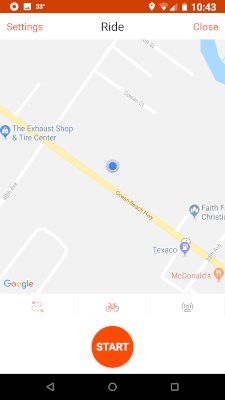
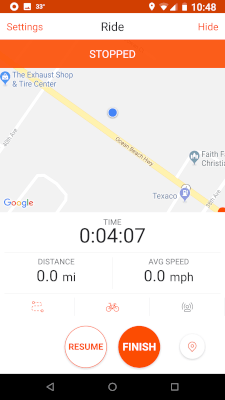
Click Start to start recording. When you complete your ride, just press the FINISH button.
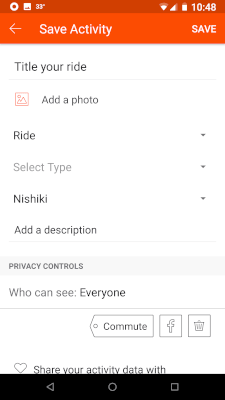
You’ll go to another screen with a bar at the top titled “Save Activity”. There are other choices available on this page. For your first ride just make sure ride is selected. The other choices are all optional. Pressing Save will upload and save your ride to the Strava website. Now you’ll see the feed screen again with the ride you just completed at the top of the feed list.
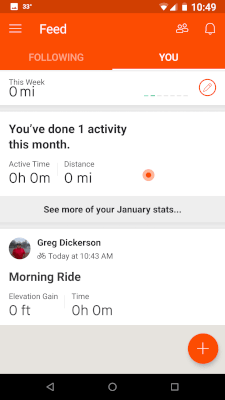
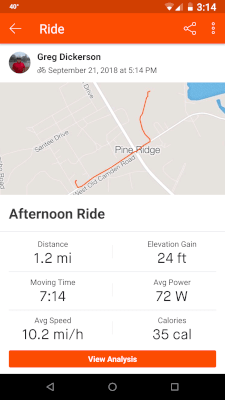
Clicking on the ride will bring up all of the statistics that were generated for that ride, which can be viewed and shared online on a computer, tablet, or phone.
Wasn’t that easy? The biggest obstacle I’ve encountered when using the Strava app is forgetting to record the ride when I start.
Statistics Generated by the Strava App
The date and time of your ride is recorded as well as the following statistics that can be viewed when you click on the ride from your feed:
- A map of your ride
- Moving time
- Distance
- Average speed
- Elevation Gain
- Calories consumed
In addition to the above statistics, Strava also records ride segments and elevation, speed, and heart rate histograms. In order to get heart rate data you’ll need a Bluetooth heart rate monitor strap that can pair with Strava via your phone.
Social Networks and Sharing
You can share your rides on Facebook, Instagram, Twitter, Google+, Pinterest and many other social networking websites. To share a ride, click on the ride you want to share from the feed, then press the share button in the top bar, click SHARE on the screen labeled “Share Activity” and choose which social network you want to share it to. Then fill out any additional information you want to appear with your ride. Very easy and self-explanatory.
In addition to sharing your ride on social media it can also be shared with other Strava users who are following you. Strava has social networking incorporated into the app via the “Following” feature.
All of the features discussed in this article come with the free version of Strava, but there are premium features available as well. The Strava Premium features will be covered in a future article.
Related Sites
Strava Running and Cycling App
Amazon and the Amazon logo are trademarks of Amazon.com, Inc, or its affiliates.

