As an Amazon Associate I earn from qualifying purchases.
Bicycle chain cleaning is an important task that increases pedaling efficiency and reduces wear on a bike’s drive train. Wet weather, road grime and mud all contribute to shortening the chain’s life. Regular maintenance will improve shifting performance and reduce pedaling effort. Learn how to do this simple maintenance task to extend your bicycle chain’s life.
Bicycle Chain Cleaning
There’s a couple ways to clean a chain. The first method is much simpler and easier. It uses a chain cleaning tool like the one available from Park Tools to clean the chain while it’s still on the bike. The second method involves removing the chain from the bike and letting it soak in some kind of cleaning solution. Which method you use is entirely up to you. The second method works better for really grimy, crusty chains.
First Method: Using a Chain Cleaning Tool
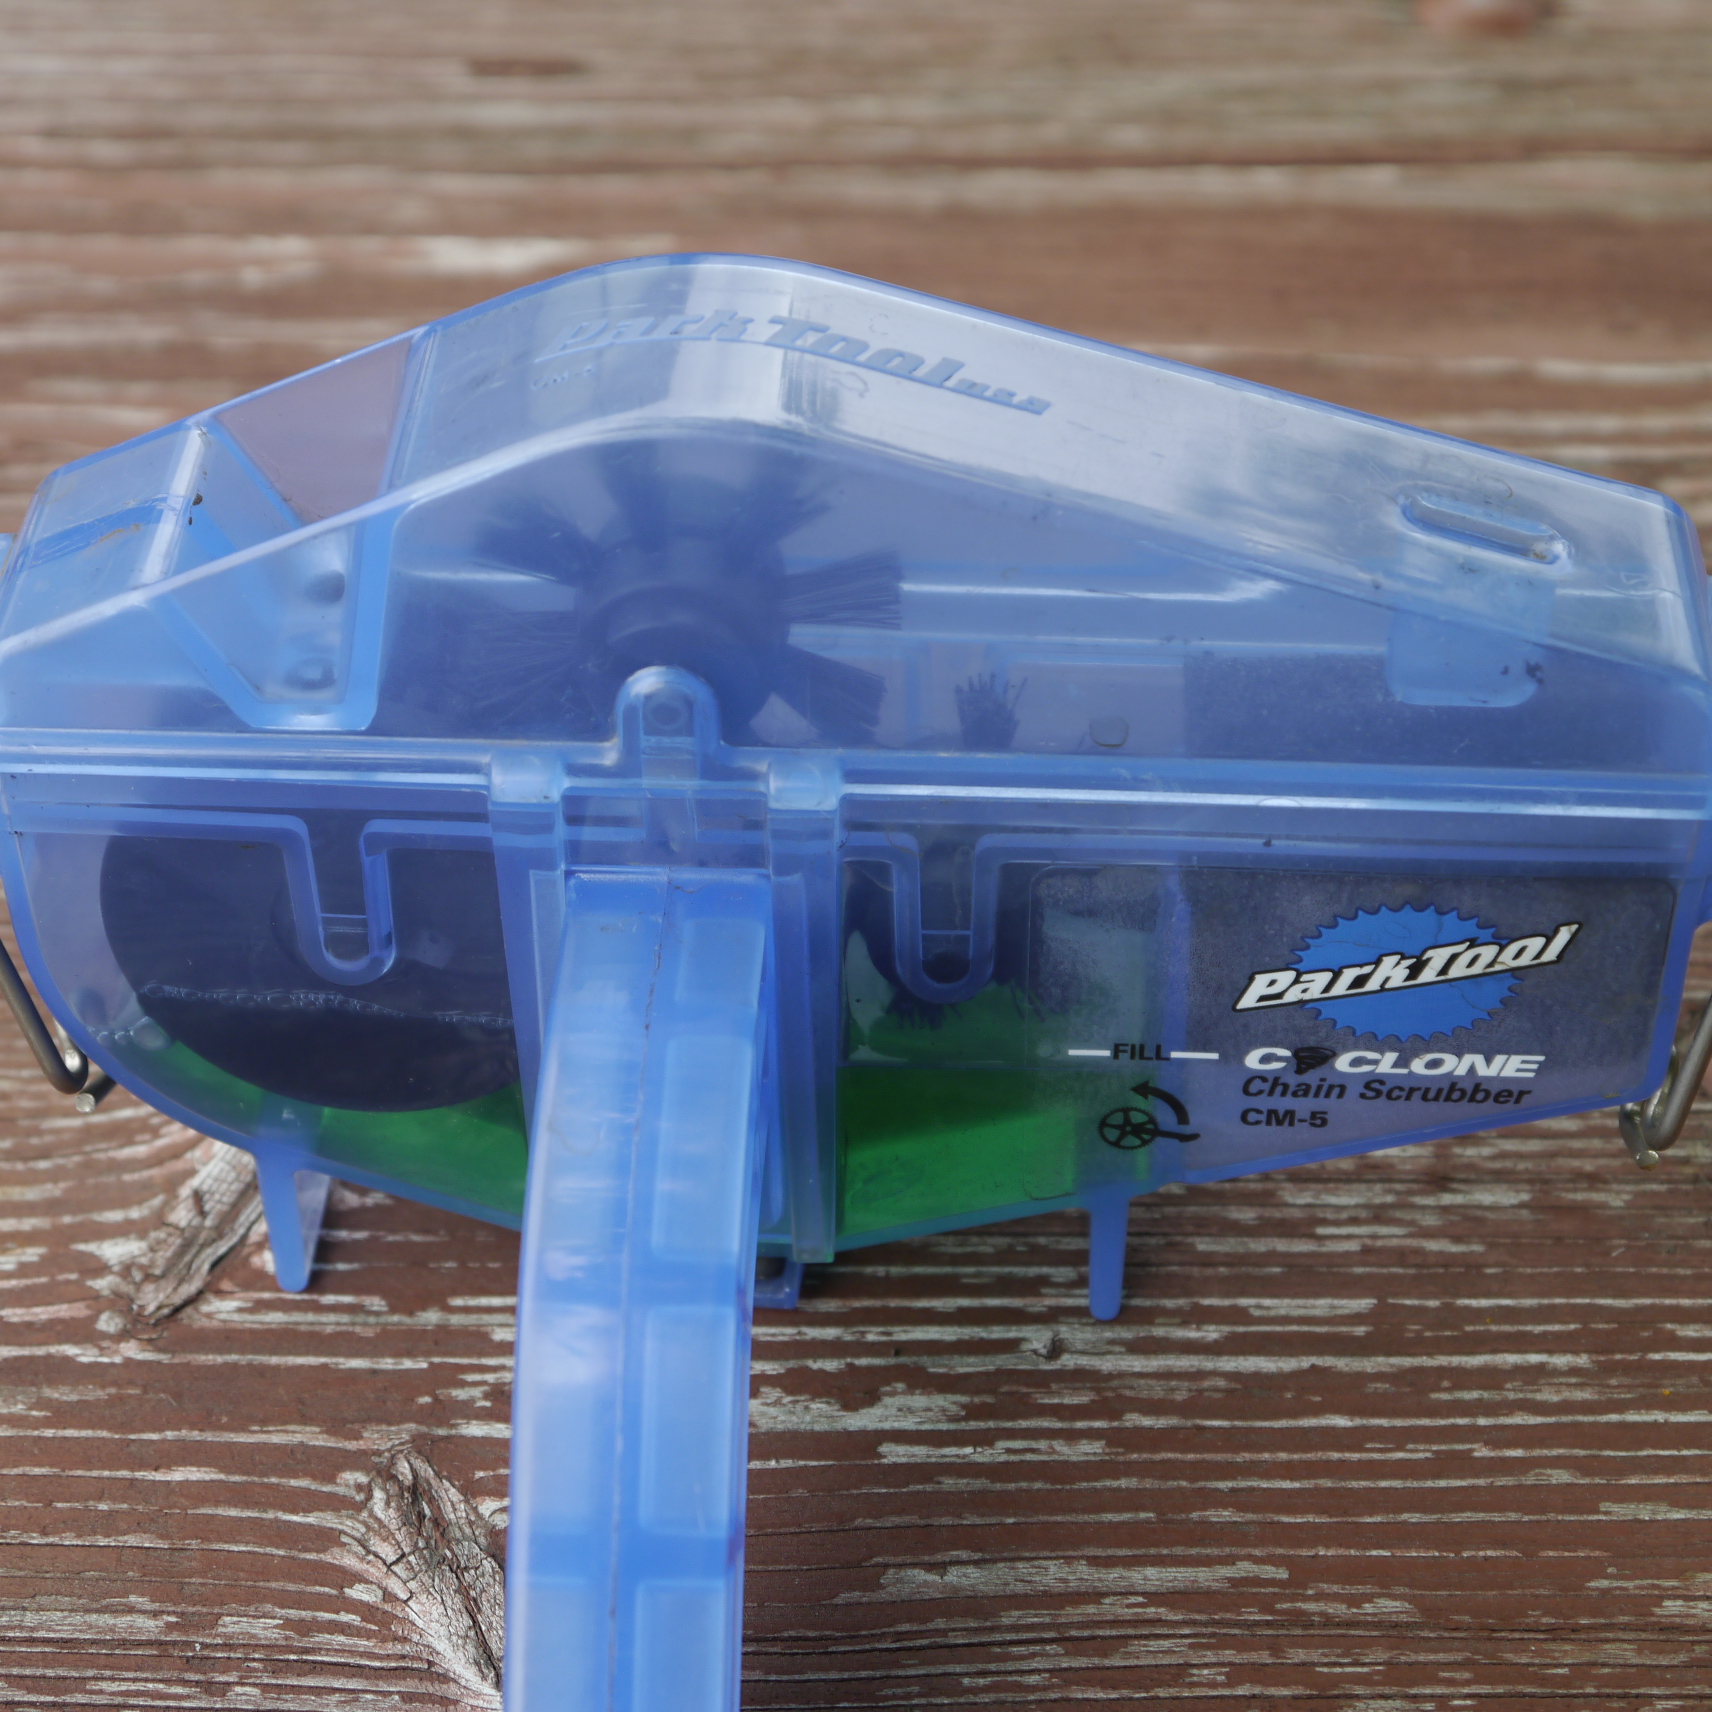
Fill the chain cleaner with your desired cleaner. I use a 50/50 mix of Simple Green and water. Install the chain cleaner to the bottom loop of the chain and hold it in place.
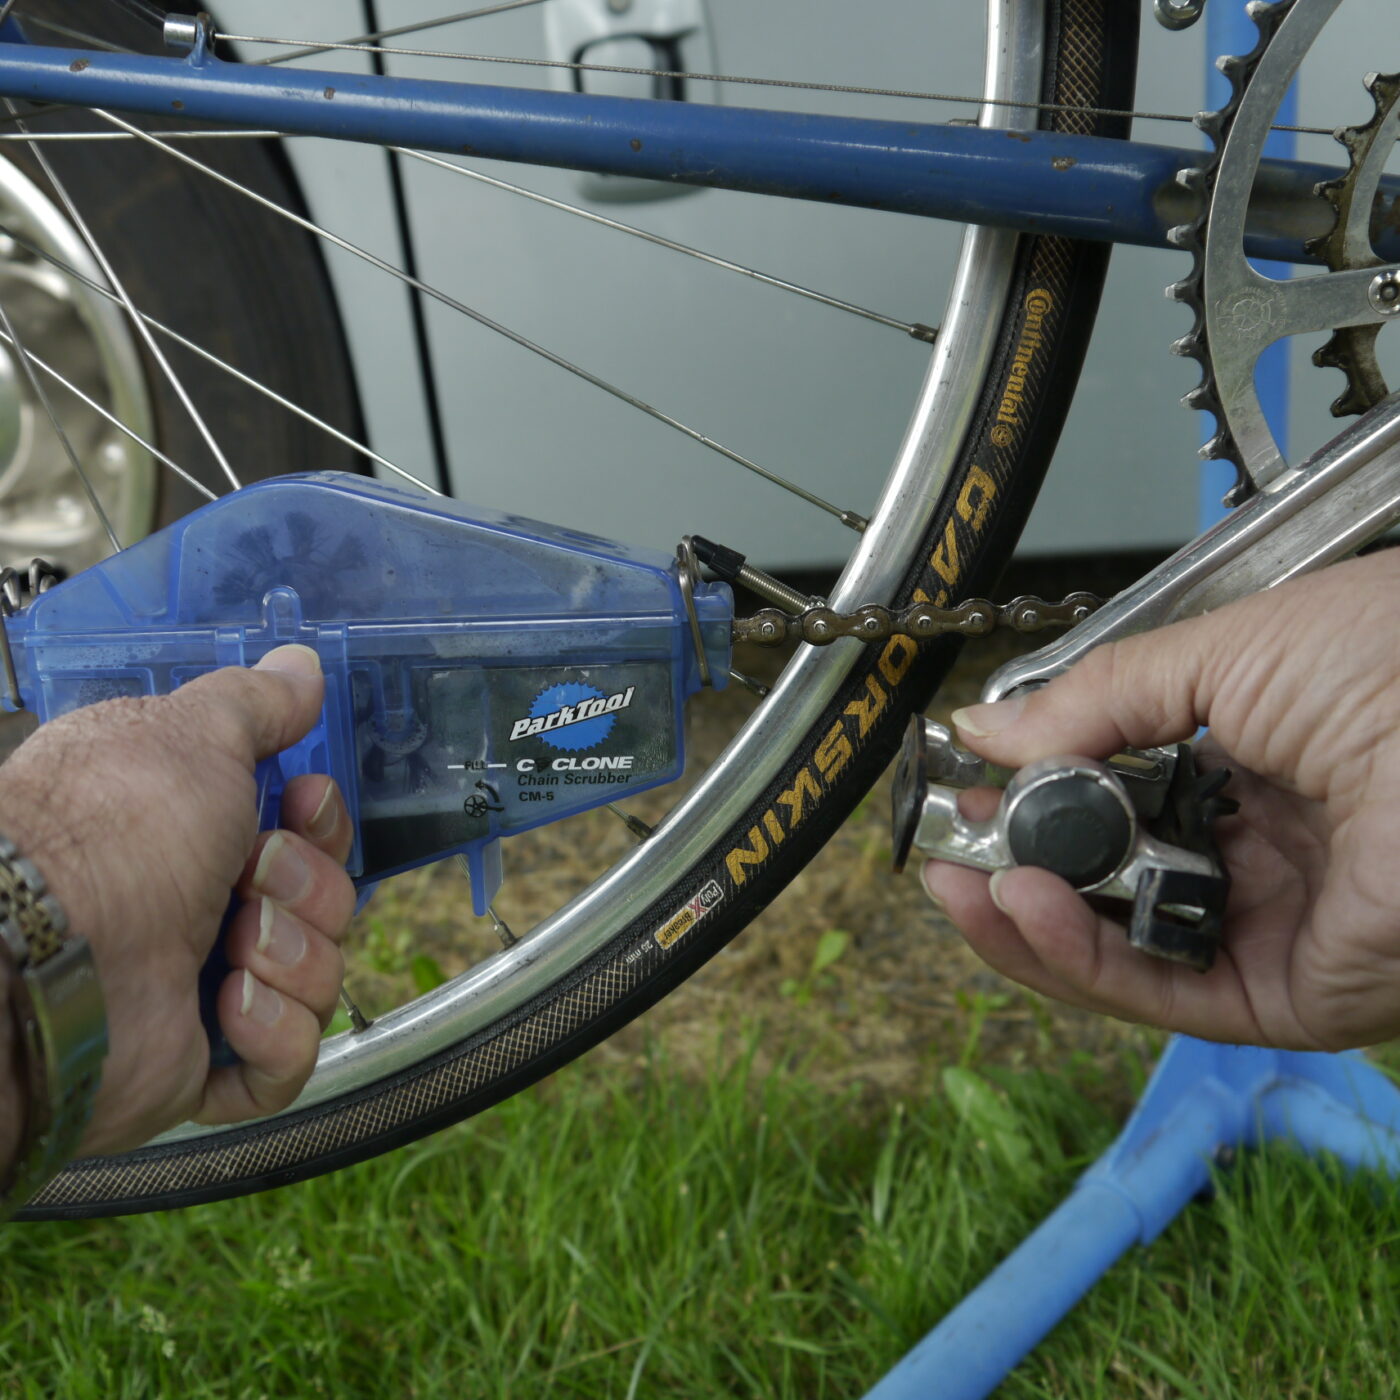
Cranking the pedals backwards will move the chain through the cleaner and turn the brushes. When the chain is clean, remove the chain cleaner and dump the solvent.
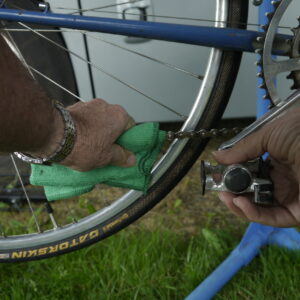
To dry the chain wrap a rag around it and turn the pedals backwards. Lubricate the chain as described below.
Second Method: Removing the Chain
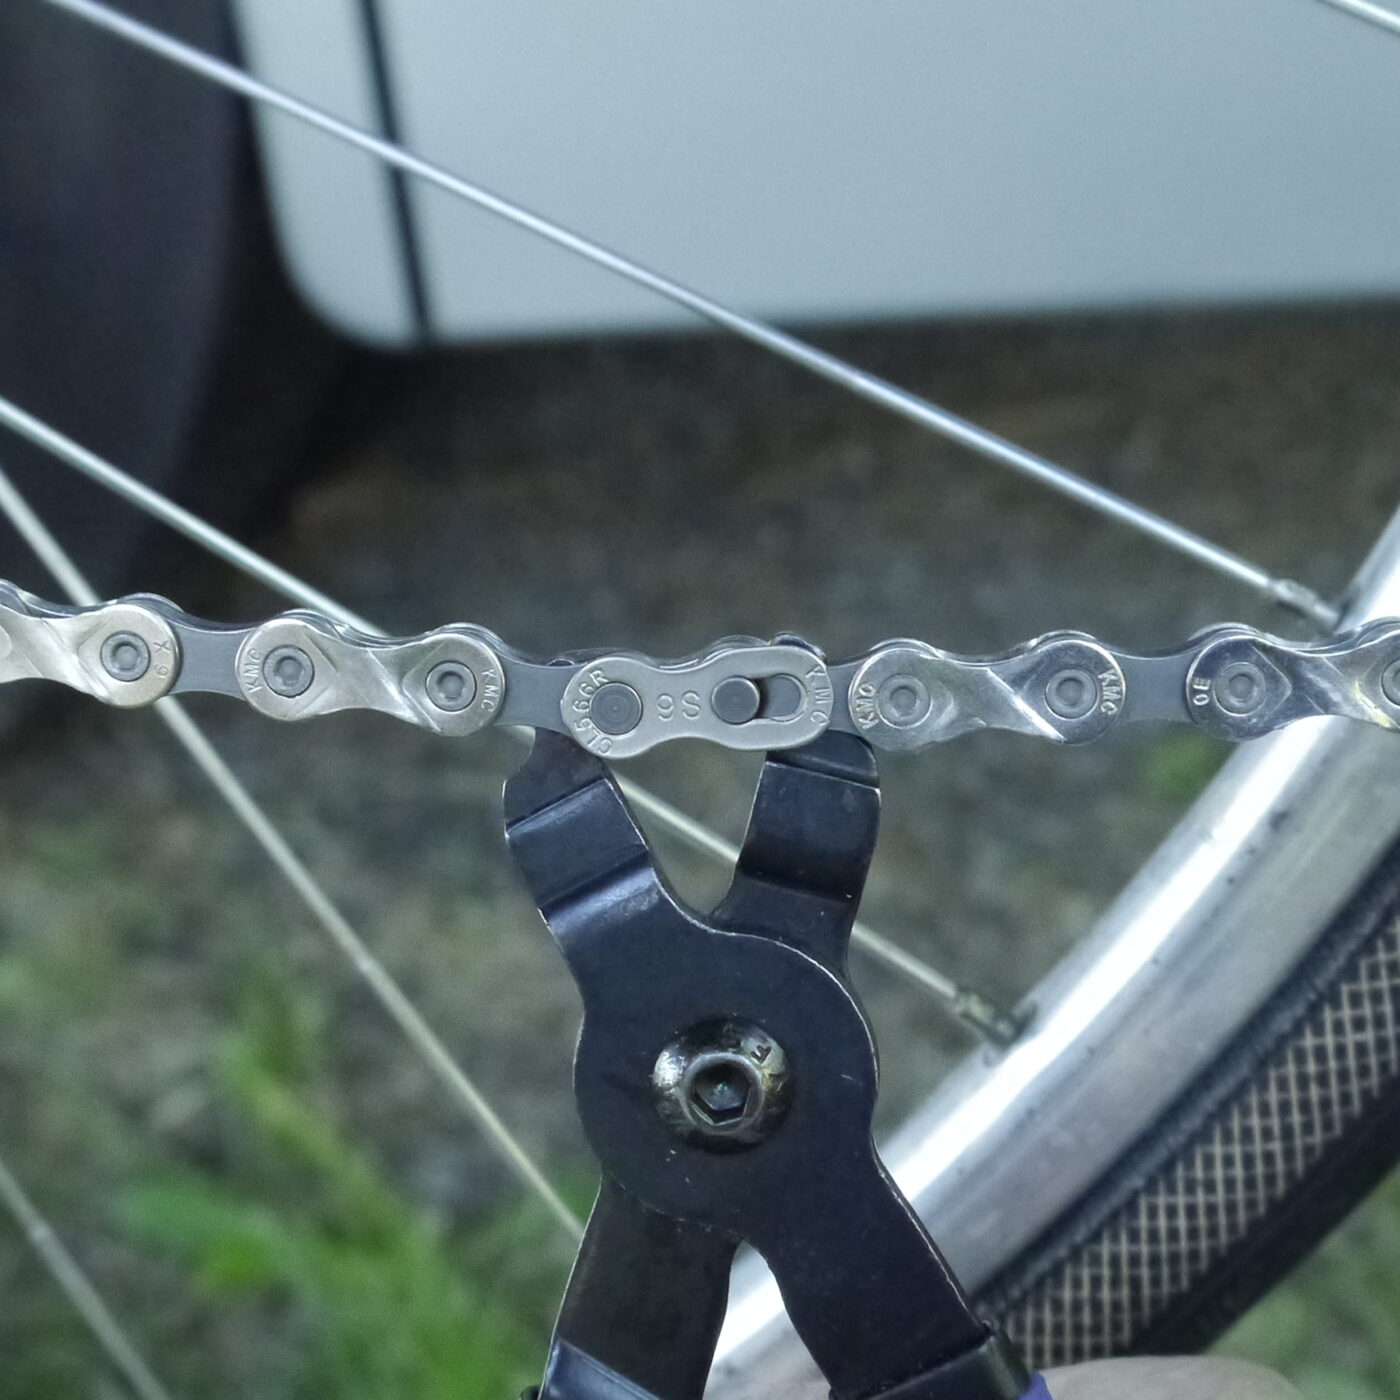
Unlock the master link (missing link) by hand or with master link pliers and set the missing link aside so it doesn’t get lost. Some missing links can’t be re-used and must be replaced. On chains without a master link you’ll need to use a chain break tool to disassemble the chain.
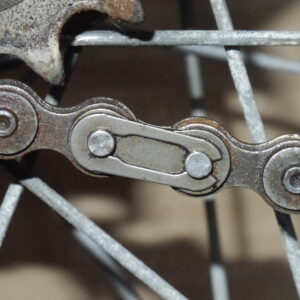
Single speed/coaster brake bikes and bikes with internal hub gears, like 3-speed bikes, use this style of master link. When re-installing the master link, orient it with the closed end facing the direction of rotation of the chain.
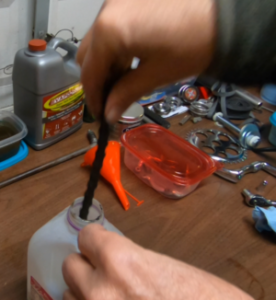
Put the chain in a plastic milk jug with your preferred cleaner. I usually use a 50/50 mix of Simple Green and water. Screw the lid on and let the chain soak for a couple of hours.
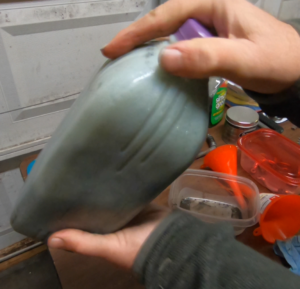
After letting the chain soak take the jug and shake it for a few minutes. this helps to loosen and remove grit and grime from the chain.
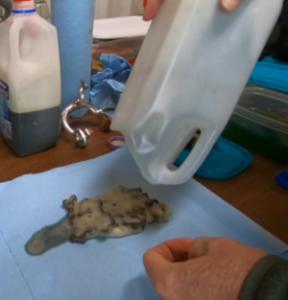
Dump the solvent into another container and remove the chain. If the chain was really grimy you may have to scrub it with a cleaning brush and put it back in the milk jug with fresh cleaner for a second cleaning. Once the chain is clean, dry it off with a rag.
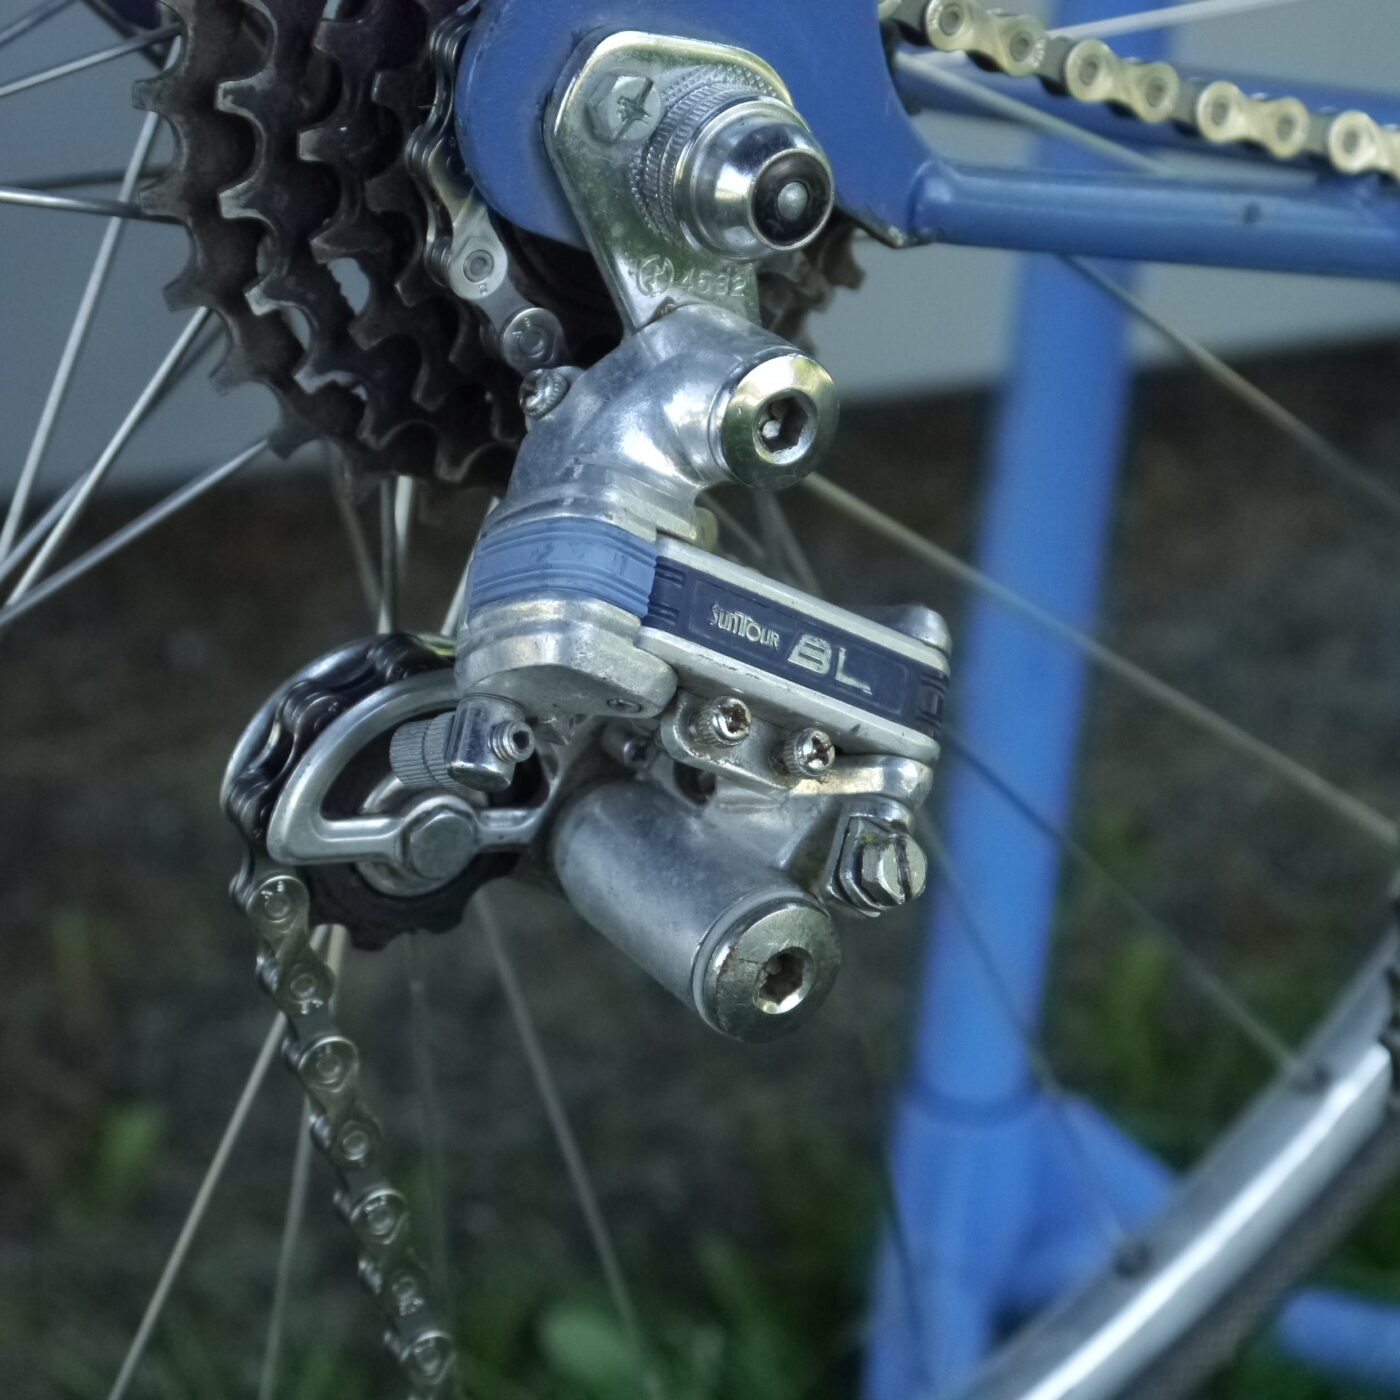
Shift the front and rear derailleurs to their smallest gears. Put the chain over the smallest rear sprocket and thread it through the rear derailleur. Pull the chain around the smallest front chain wheel and through the front derailleur.
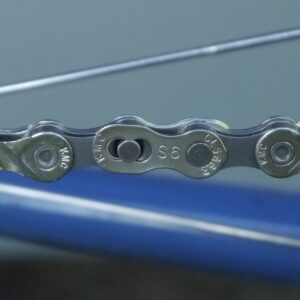
Re-install the master link. If using missing links, pedal the bike forward to lock it in place. Lubricate the chain as described below.
Bicycle Chain Lubrication
Before describing how to lubricate your chain I’ll describe a couple of things not to do:
- Don’t use WD-40 as a lubricant. It wasn’t meant for this task. WD-40 can break things loose that are frozen but it doesn’t last very long as a lubricant.
- Don’t lubricate the chain too much. Too much lubrication will attract grit and grime. The chain will be all gunked up again very quickly.
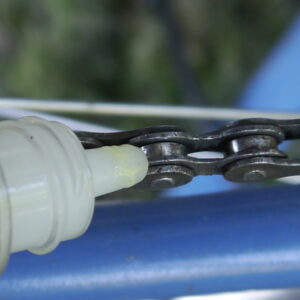
A quality bicycle chain lubricant like Finish Line DRY Teflon Chain Lube has good lubricating qualities without attracting too much grit and grime. Lubricate each link individually. Once all the links have been lubed gently wipe off any excess.
In dry weather you shouldn’t have to do very much bicycle chain cleaning and maintenance. If you ride a lot, like every day, you should lube the chain at least monthly and clean it when it starts collecting grime. Riding in wet weather will require more frequent chain cleaning and lubrication. A neglected chain will rust very quickly in wet weather.
Amazon and the Amazon logo are trademarks of Amazon.com, Inc, or its affiliates.


